
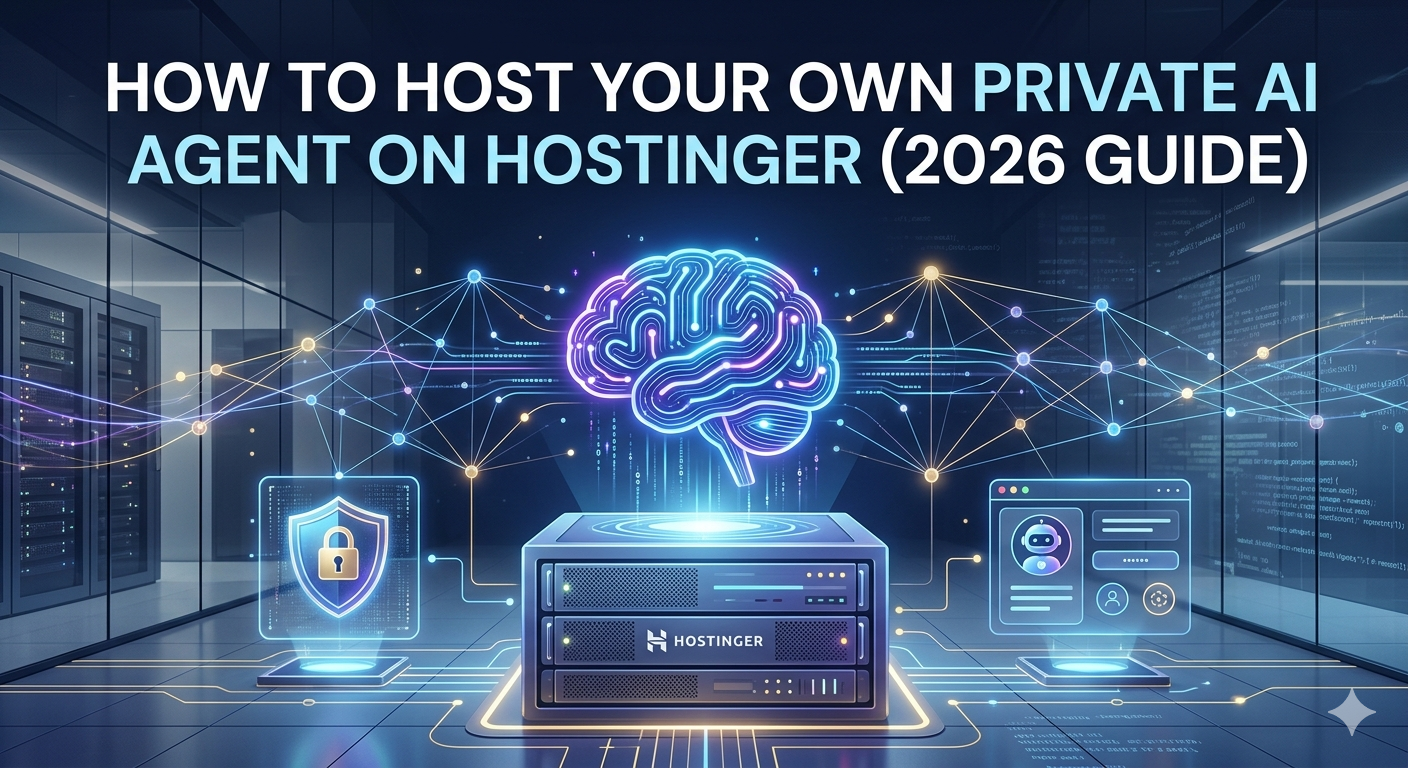
Want an AI that works around the clock and keeps your data private? Hosting it yourself is the way to go. Hostinger makes this simple with two choices: a beginner-friendly 1-click Managed AI Agent, or a VPS (Virtual Private Server) for developers who want total control.
Quick Summary: Hosting a private AI agent on Hostinger requires either their Managed 1-click OpenClaw setup or a KVM 2 VPS with 8GB RAM running Ubuntu 24.04. Using Ollama and n8n, you can run models like Llama 3.1 with 100% data privacy and zero per-token API fees.
What is the best Hostinger plan for a private AI agent?
| Feature | Managed (OpenClaw) | Pro (KVM 2 VPS) |
|---|---|---|
| Best For | Beginners | Developers / Privacy |
| RAM | Shared | 8GB Dedicated |
| Setup | 1-Click Auto | Manual (Ubuntu 24.04) |
| Price | ~$5.99/mo | ~$7.99/mo |
To keep your private AI agent running smoothly, you’ll need a server with enough “brainpower” (RAM and CPU).
The Beginner Choice (Managed): Use Hostinger’s 1click OpenClaw product. It costs about $5.99–$6.99/mo and sets up everything automatically, including preinstalled AI credits.
The Pro Choice (VPS): Choose the KVM 2 plan (starting around $7–$9/mo). This gives you 8GB of RAM, which is the “sweet spot” for running smart models like Llama 3.1 8B.
How do you set up the AI environment on a VPS?
$ curl -fsSL https://ollama.com/install.sh | sh
If you chose the VPS route, follow these simple steps to prepare your “home” for the AI:
1. Select your OS: In your Hostinger panel, choose Ubuntu 24.04.
2. Install the “Brains” (Ollama): Ollama is a tool that lets you run AI models locally. You can install it with one command in your terminal.
3. Choose a Visual Builder: Install n8n or OpenClaw. These tools give you a simple dashboard where you can build your agent by dragging and dropping blocks instead of writing complex code.
How can you connect your AI agent to external apps?
- Messaging Platforms: Connect via API to Telegram, WhatsApp, or Discord for mobile task management.
- Database Memory: Integrate a PostgreSQL or Vector Database to give your agent long-term memory.
- Webhooks: Use n8n to trigger your AI agent whenever you receive a new email or a WordPress comment.
What are the best tasks for a self-hosted AI agent?
Once your agent is live, you need to tell it what to do. Great first tasks include:
Automation Builder: Draft business workflows using local data.
Content Assistant: Summarize technical documents without uploading them to the cloud.
Customer Support: Handle basic questions for your WordPress sites securely.
Why SelfHost in 2026?
Privacy : Your prompts and files never leave your Hostinger server.
No “Token” Fees: Unlike ChatGPT, you pay a flat monthly hosting fee and can use the AI as much as you want.
Ownership: You own the model, the data, and the agent’s behavior.
No “Token” Fees: Unlike ChatGPT, you pay a flat monthly hosting fee and can use the AI as much as you want.
Ownership: You own the model, the data, and the agent’s behavior.
Ready to start? Head to your Hostinger hPanel and look for the AI Agents tab to launch your first assistant in minutes.